CONSTRUIT PAR DES COUREURS ET DES INSTRUCTEURS
La simplicité est la sophistication ultime
Trois étapes. Un clip parfait. Zéro frustration.
50 000+
Familles heureuses
4.8
Évaluation des clients
10 secondes
Temps d'installation
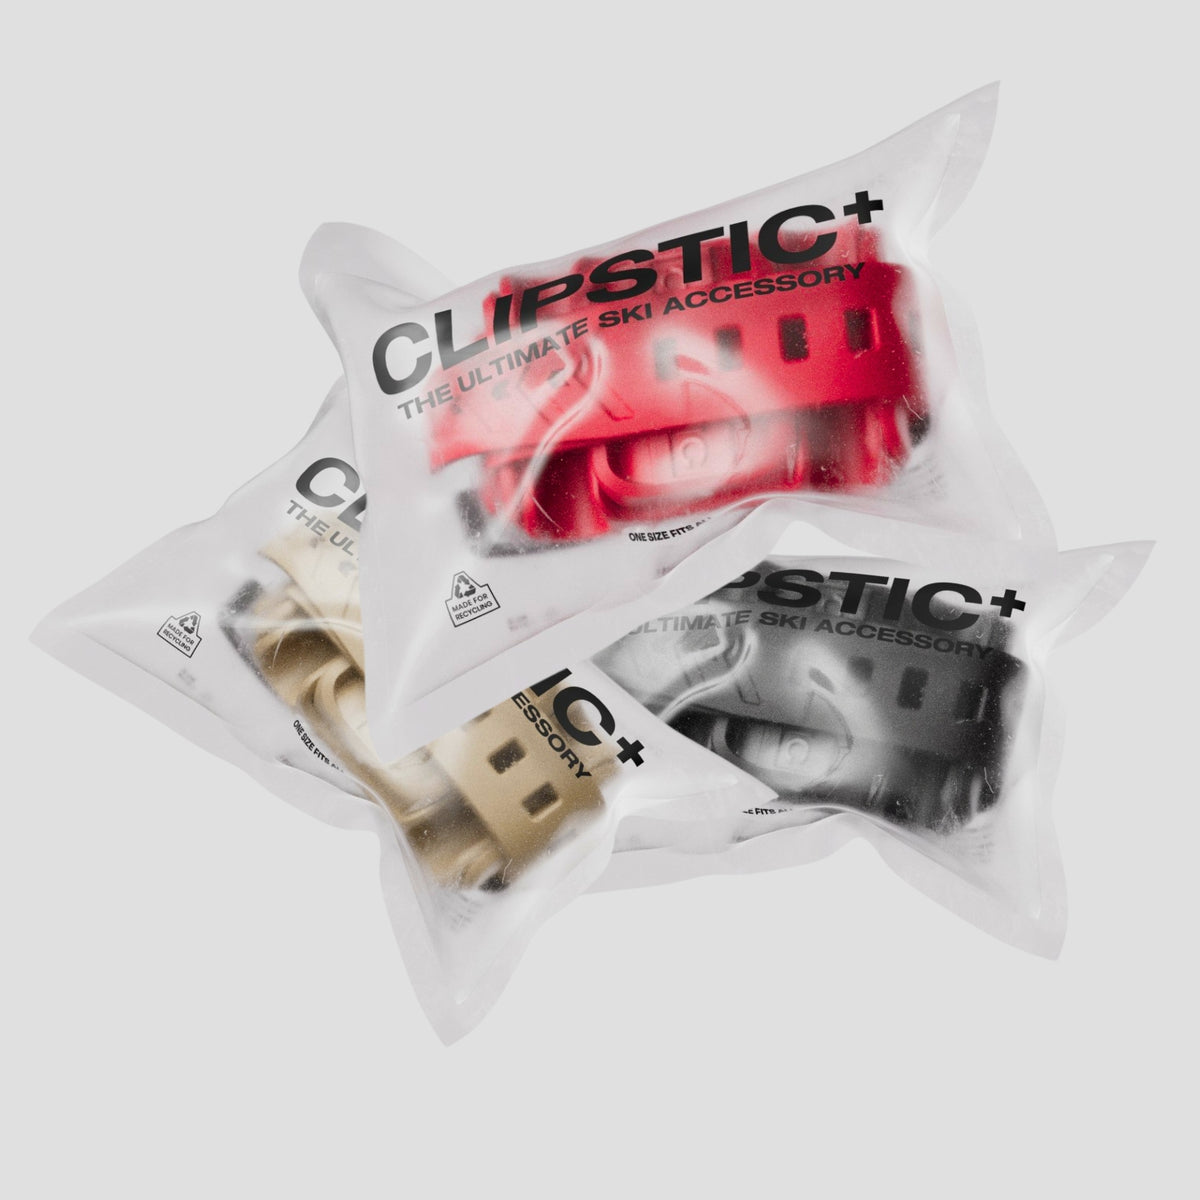
CLIPSTIC Plus • Pack Coucher de soleil (lot de 3)
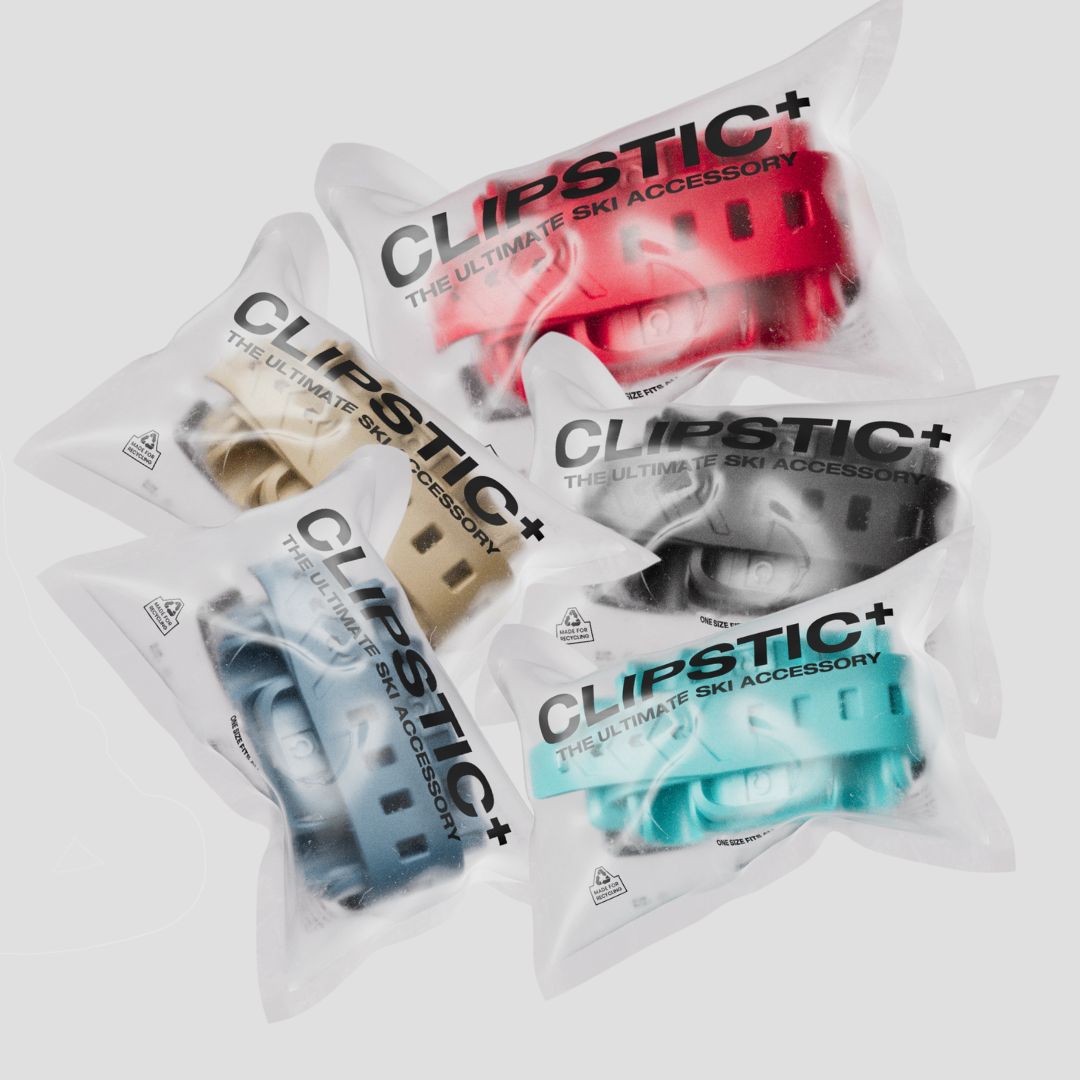
CLIPSTIC Plus Pack familial (paquet de 5)
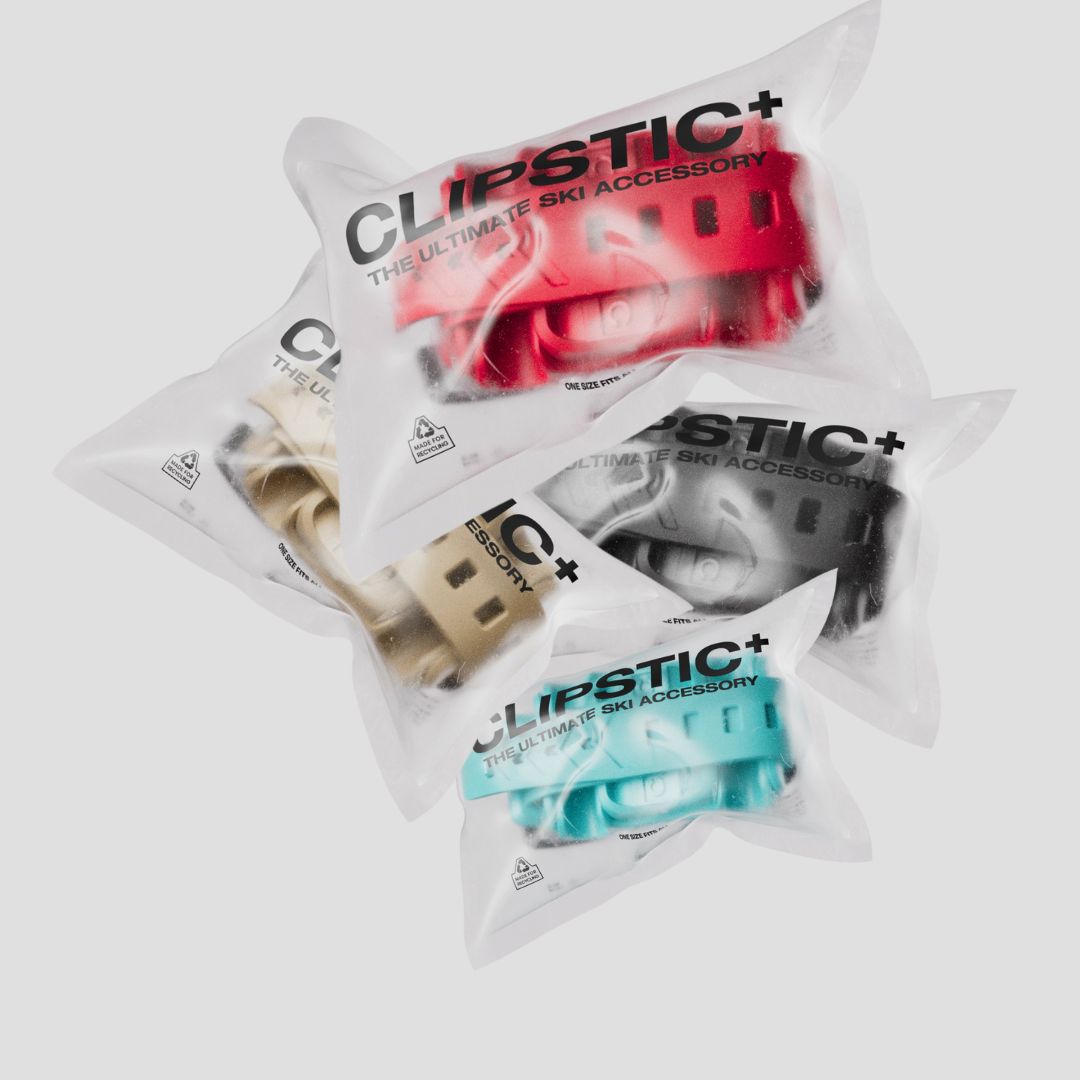
Ensemble CLIPSTIC Plus (paquet de 4)

CONSTRUIT PAR DES COUREURS ET DES INSTRUCTEURS
Trois étapes. Un clip parfait. Zéro frustration.
50 000+
Familles heureuses
4.8
Évaluation des clients
10 secondes
Temps d'installation
Strap, Clip, and Go

Grab the skis firmly with one hand and press the clipstic against the sidewall
Loop the strap through the clasp and pull strap away from the clasp
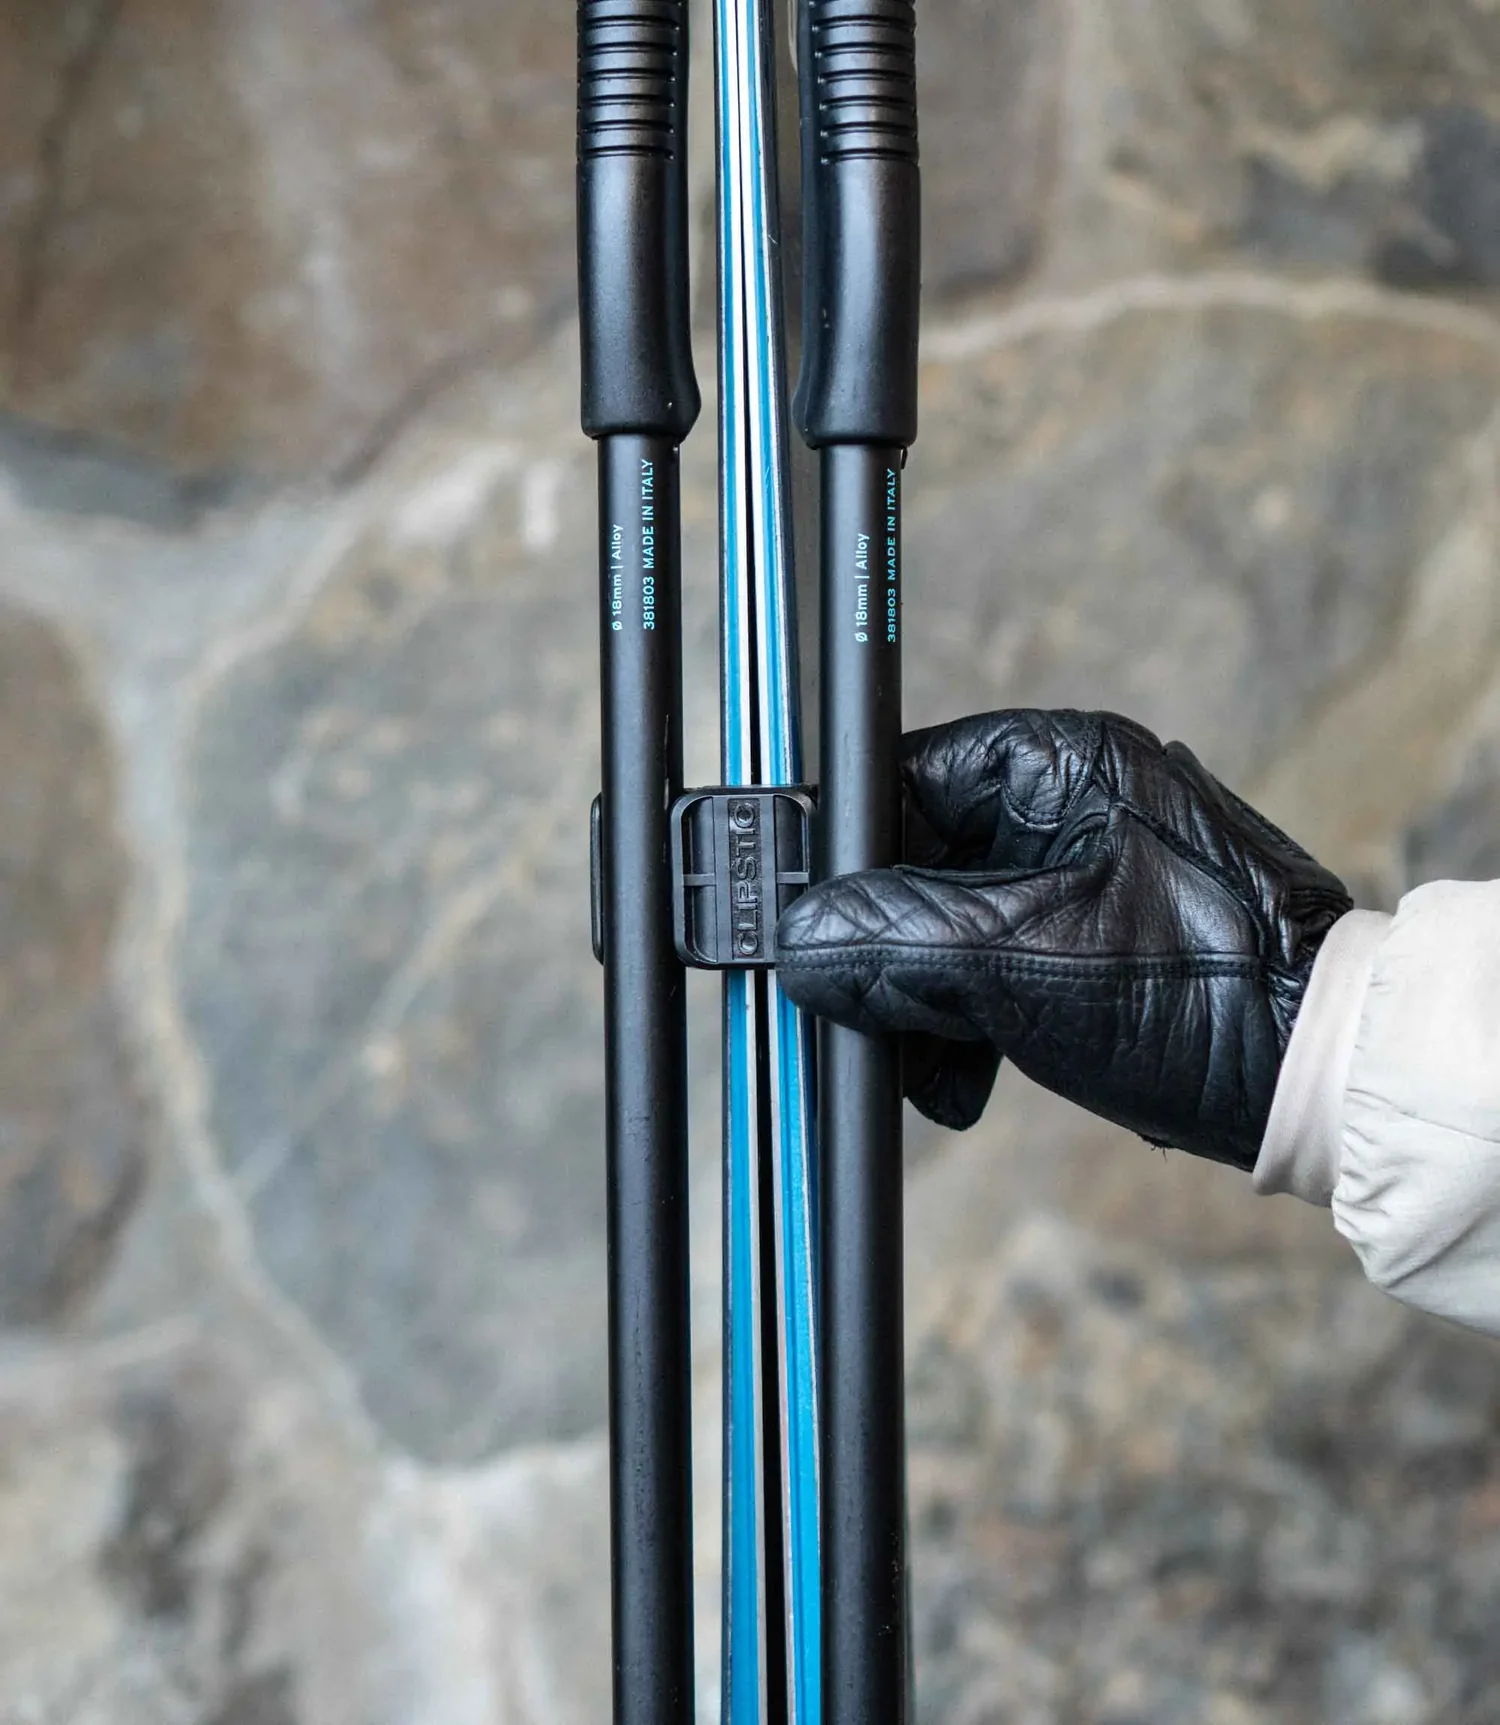
Clip in skipoles, align them parallel with the skis and pinch them in
Step 1 of 3
Mount
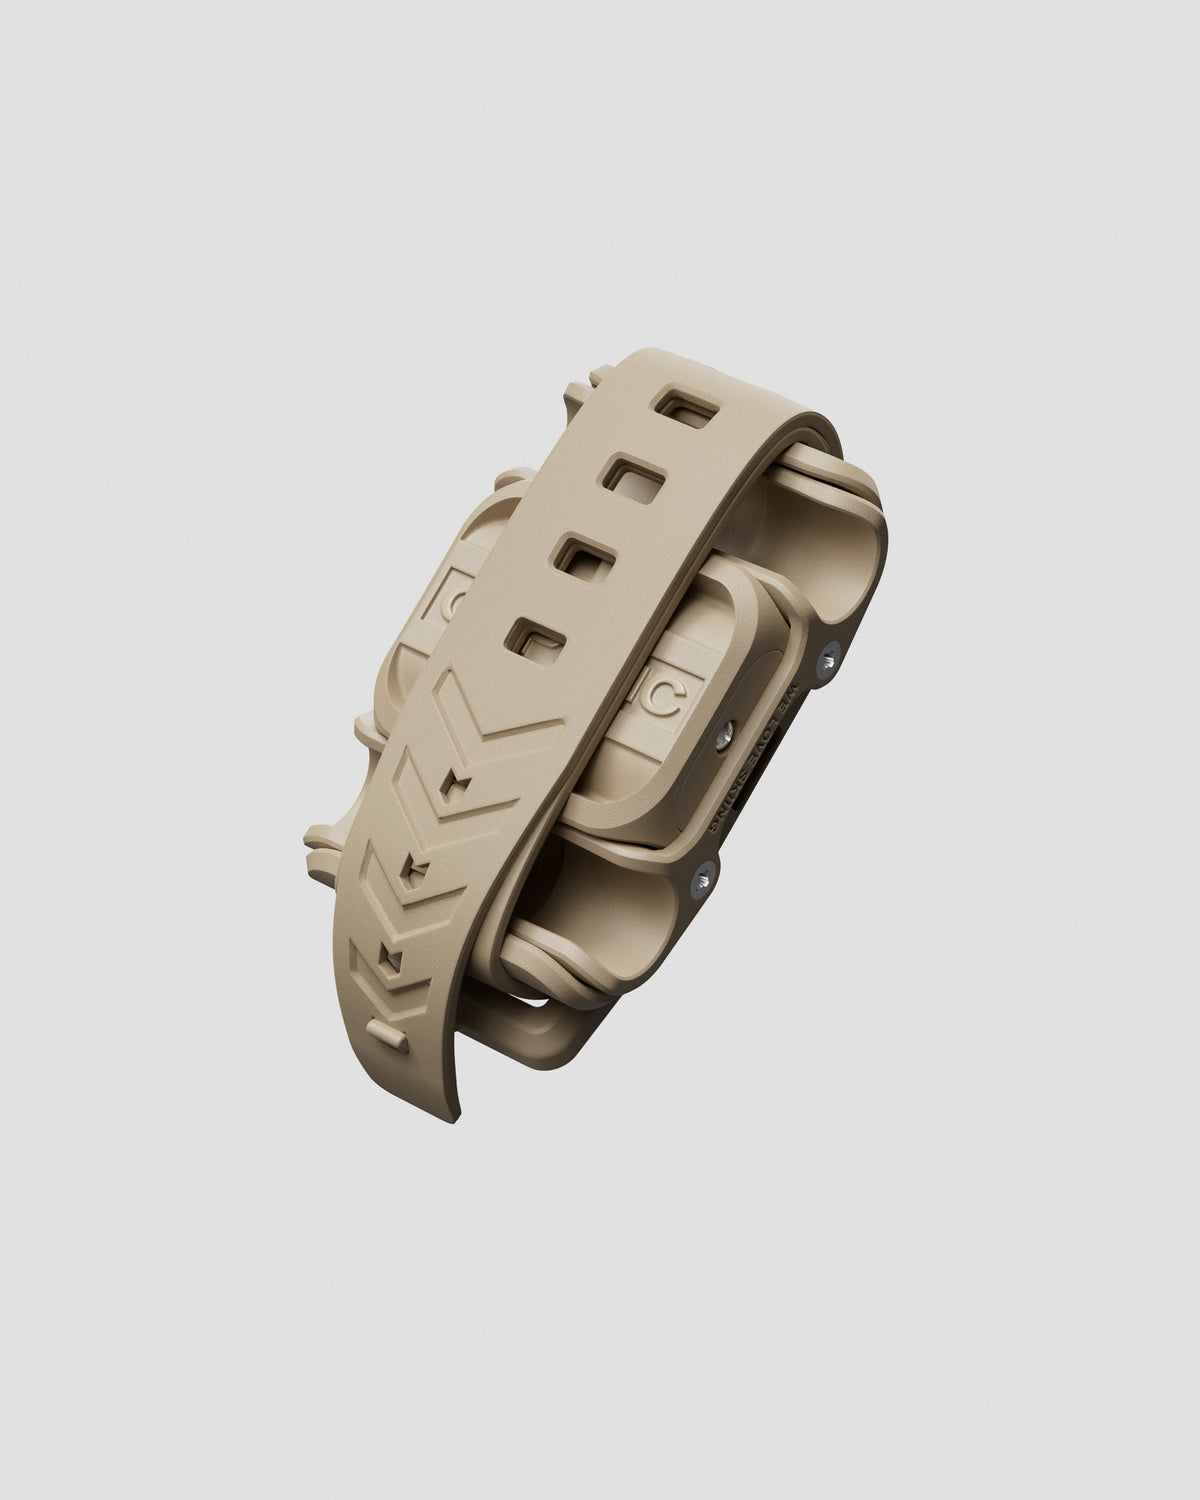
Place the CLIPSTIC on the sides of the skis, with the wedge between the bases. Squeeze the skis together with one hand so the wedge stays on place between the skis. Loop the end of the strap thought the clasp and pull the strap away to lock the CLIPSTIC in place. Secure onto any ski from cross country skis and kids skis to wide powder skis.
No slipping or sliding of skis
Set-up without kneeling
Secure grip in any condition
4 seconds
Étape 2 sur 3
Clipser
Pincez les poteaux un par un dans le clip. Opération d'une seule main, même avec des gants.
Conception adaptée aux gants
Compatibilité universelle des skis et des bâtons
Plus de tâtonnements, plus de chutes
5 secondes
Étape 3 sur 3
Porter
Décollez et partez. Vos skis restent parfaitement ensemble, même sans tenir les bâtons. Marchez librement, la main libre pour saisir les bâtons, les portes, le café ou votre enfant.
Liaison antidérapante entre les skis
Confort mains libres
Apparence sans effort
2 secondes
Voyez-le en action
Prêt pour l'essentiel ? Prenez une barre énergétique.
Pourquoi cela fonctionne si bien
L'ingénierie haut de gamme rencontre le ski dans le monde réel
L'ancienne méthode contre la méthode Clipstic
Pourquoi se contenter de la technologie de 1987 en 2025 ?